|
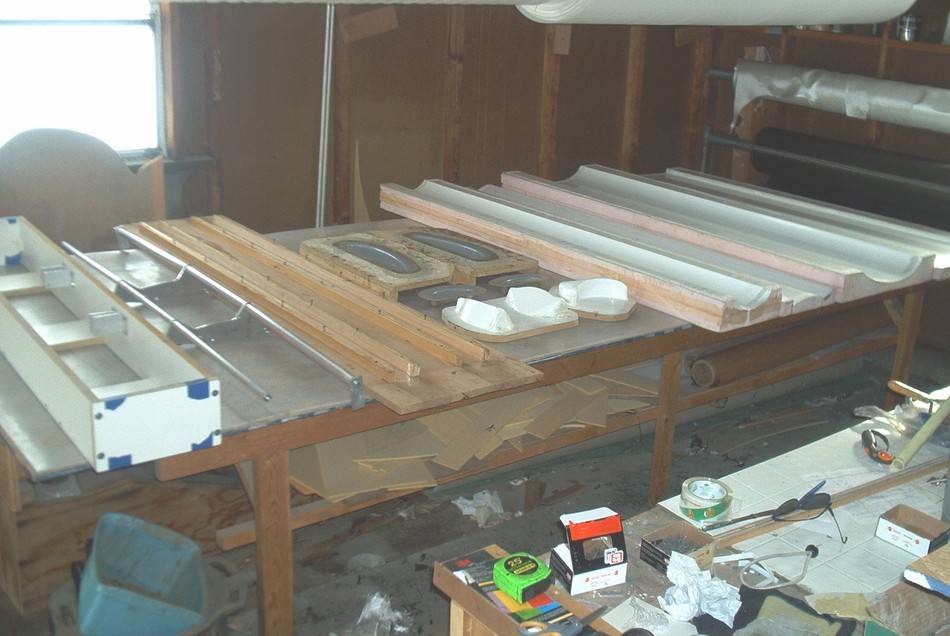
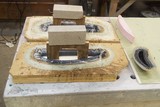
This is all the tooling required, On right four skin molds, in the middle the small white molds are for side mounting tabs for the small element, four ribs behind them, the long wood rails are sheer spar molds, the aluminum tubes are jigs for the rib bonding placement and the box on left is a jig for bonding of the small element mounting tabs. In addition there is a large assortments of templates for material cutting not shown here,
|
 |
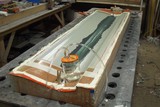
First two plies of carbon are in the mold and now the foam cores are glued in under vacuum. All four skins are made the same way.
|
 |
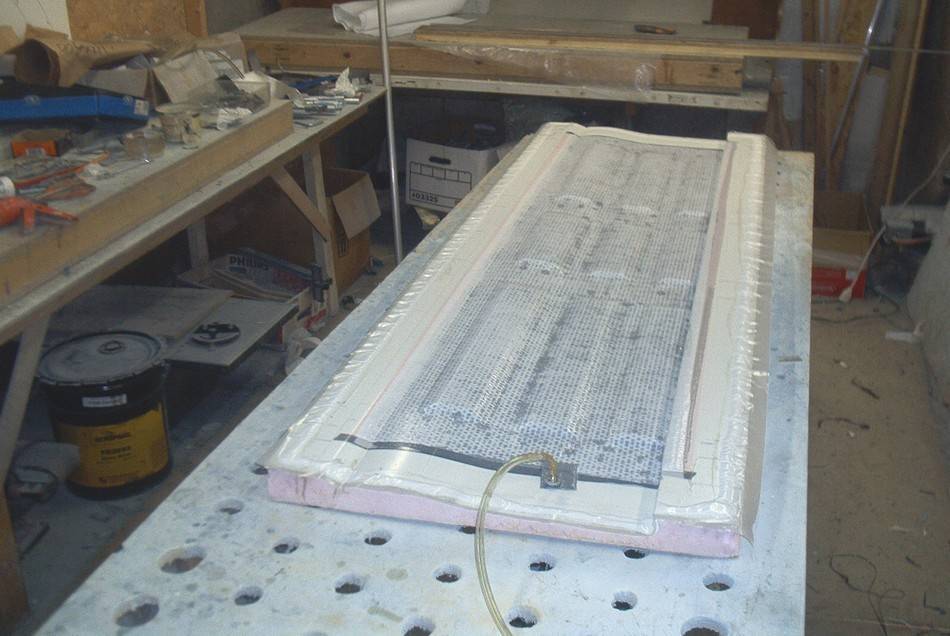
Two more plies over the cores and vacuum bagged. This is one of the steps where vacuum bagging is a must, you cant squeegee all the trap air bubbles out from under the saturated cloth over the uneven cores they just move around back and forth.
|
 |
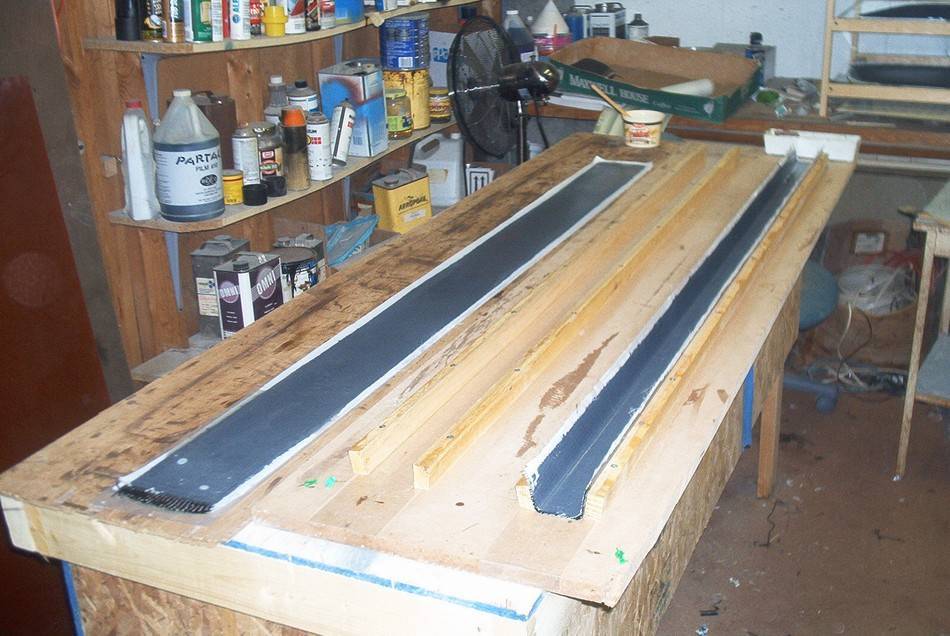
Fabricating the sheer spars. They are multiple strips of carbon at 45 degrees with peel ply on both sides of the stack, wetted out all at once on a piece of plastic film and then inserted into the molds.
|
 |
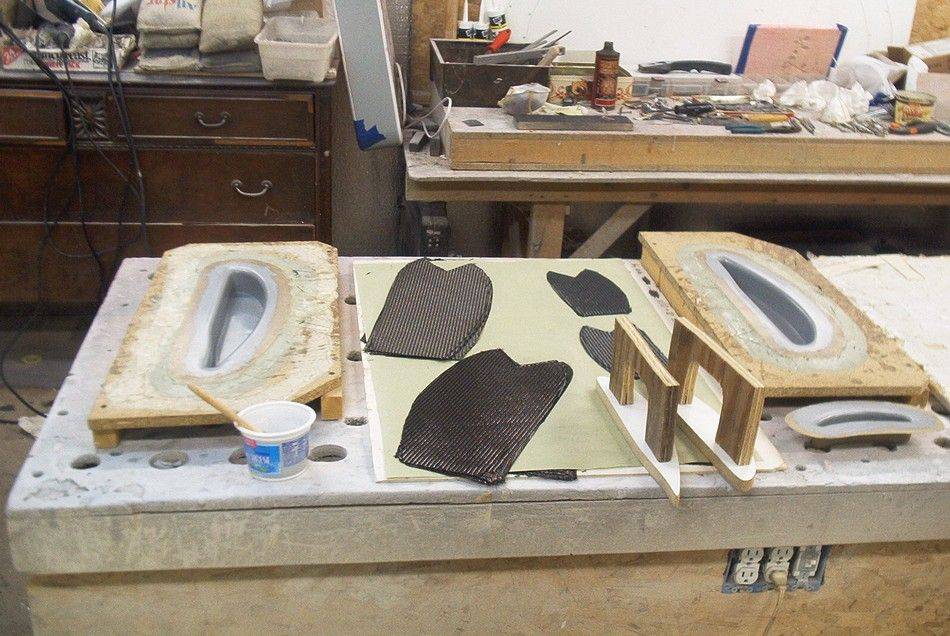
Ribs making about to start, the heater under the bench is going and all the molds and materials are very warm, makes it easier and faster to put it all in and wet it out. I make four at the time and I have to do this three times for a wing.
|
 |
50 minutes later.
|
 |
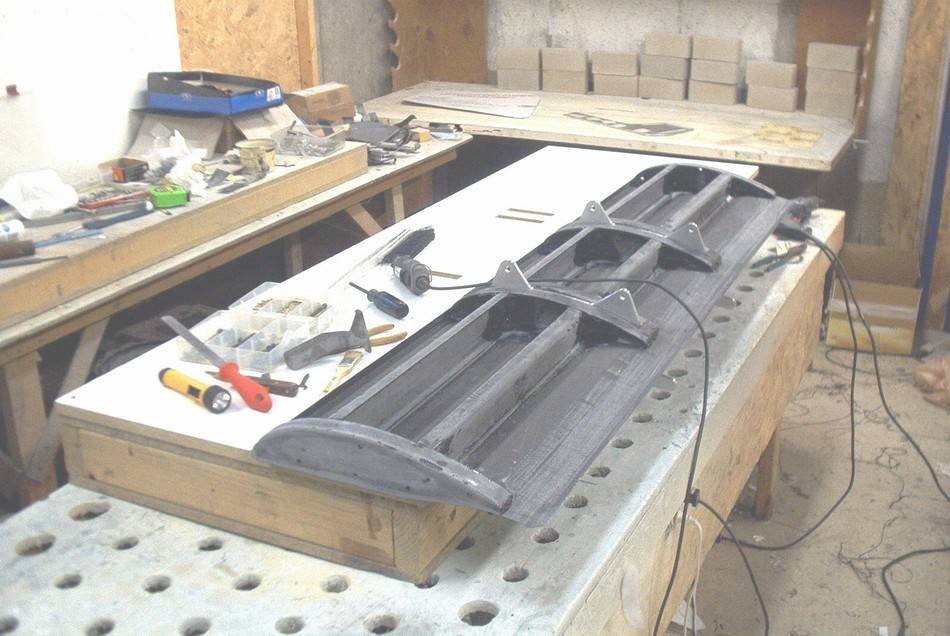
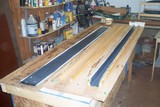
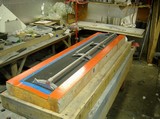
The ribs and spars are bonded in and the wing is about ready to be closed.
|
 |
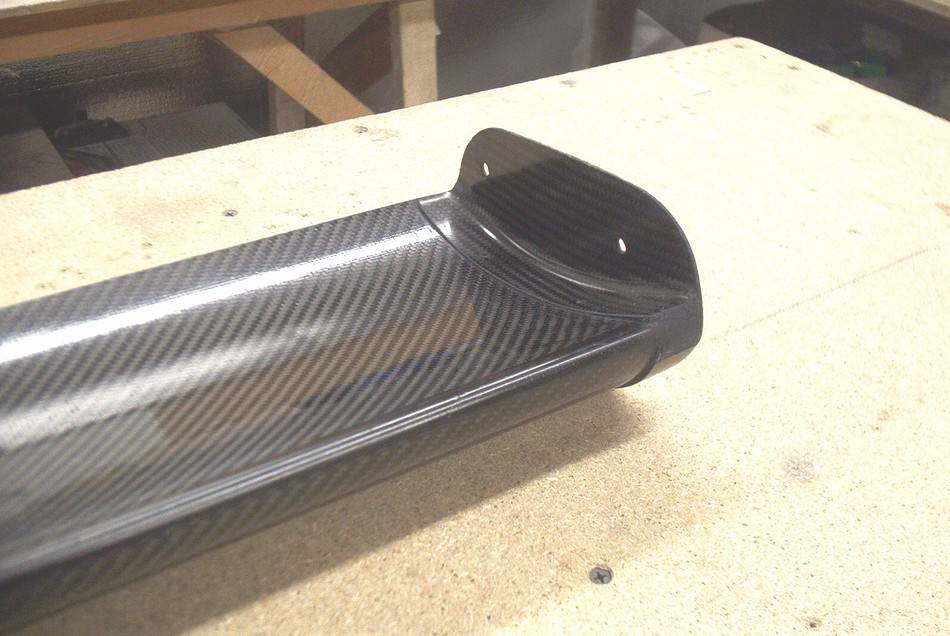
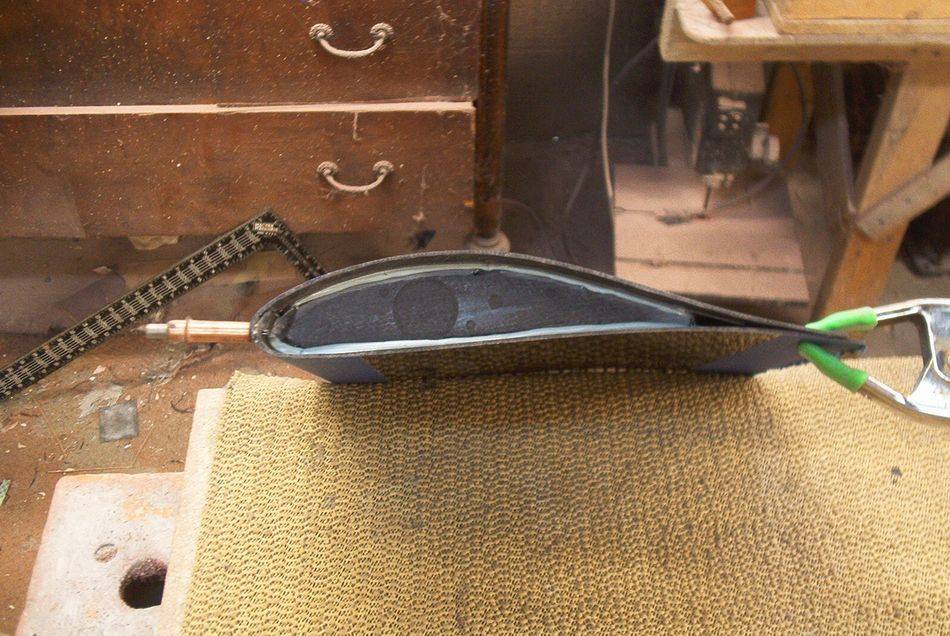
Detail of the small element mounting end tabs. The wings are supplied in clear carbon finish so the whole manufacturing and all the assembling and bonding of the parts must be done very cleanly, there is no body work, filling and painting afterwards to fix the flaws normally associated with composite production.
|
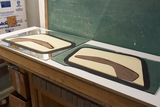 |
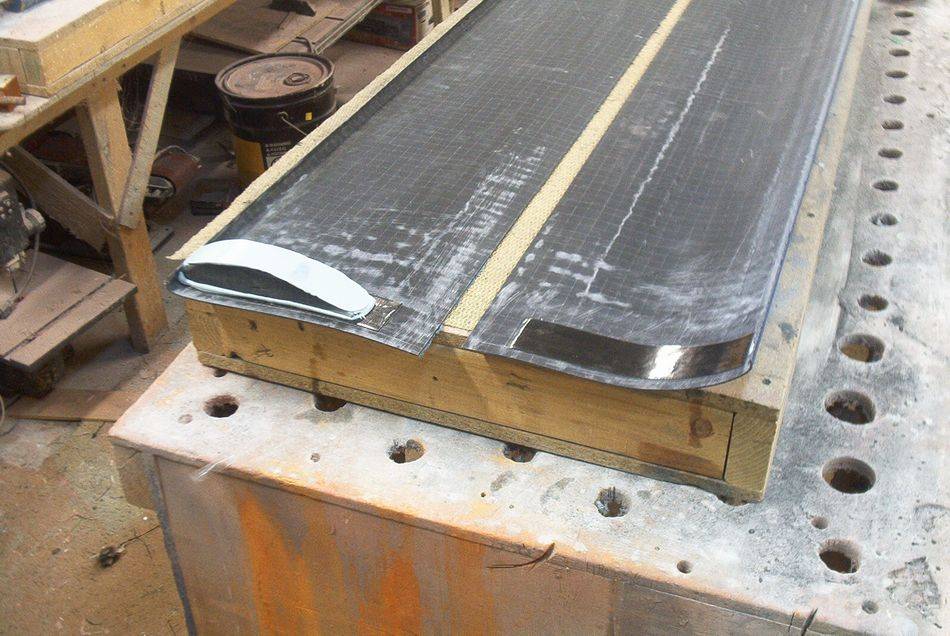
Side plates under construction. 3 plies of carbon on each face, 18 lb density foam core and phenolic insert for the bolts hard points
|
 |
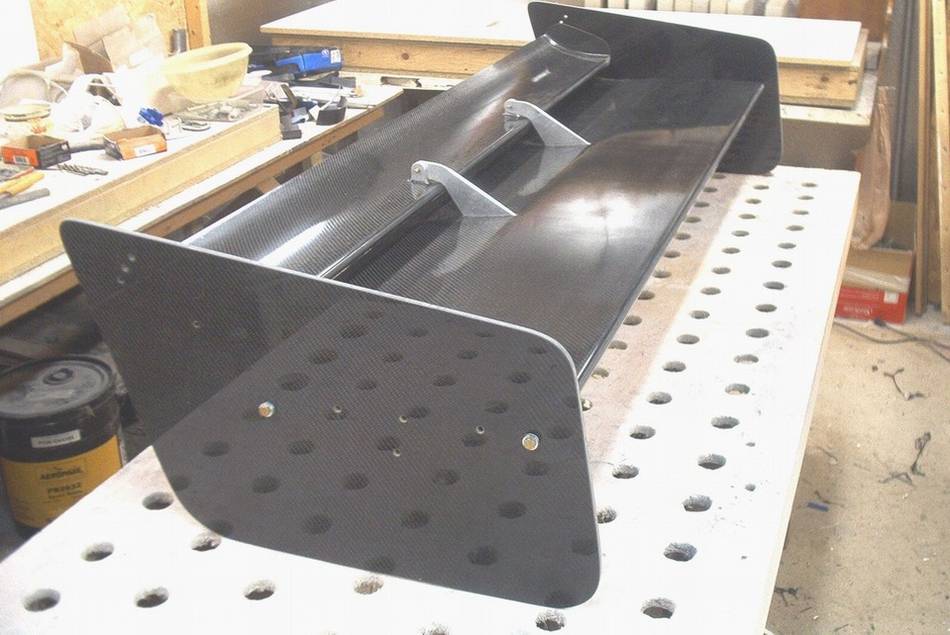
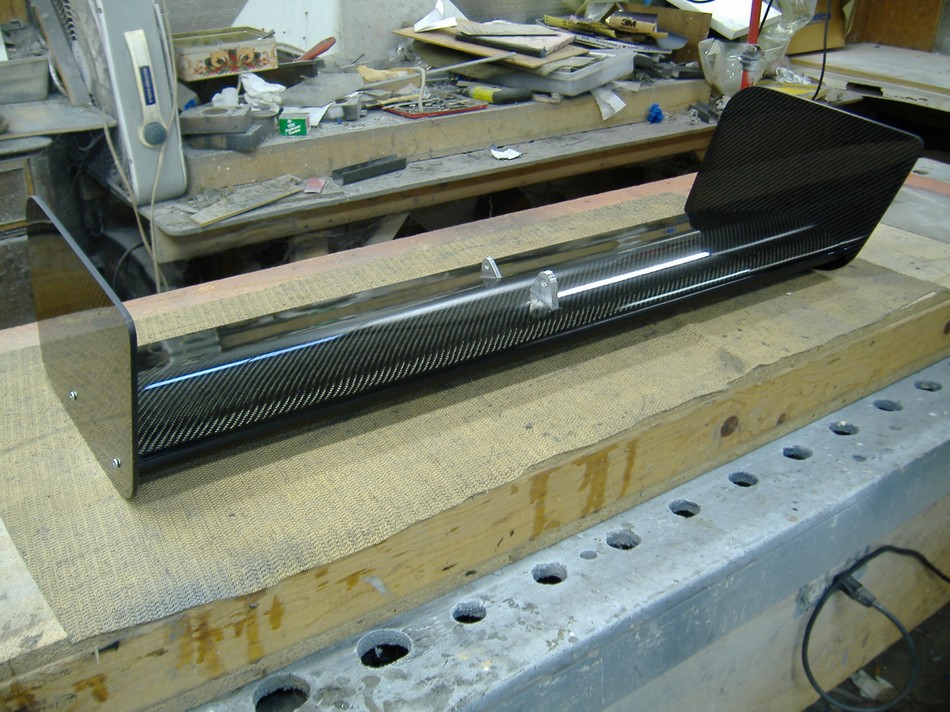
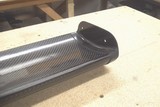
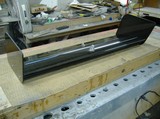
Finished and assembled wing.
|
 |
mounted on the car
|
 |
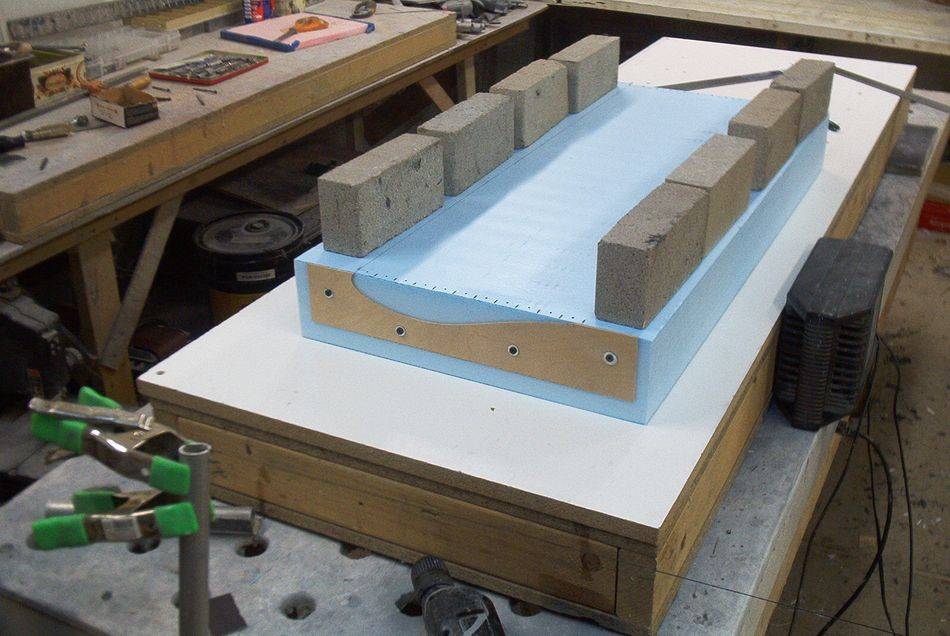
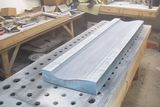
The molds are made basically just like full foam core flying surfaces of Rutanmobils by hotwiring with one major difference being the part they throw away is actually used and the part they use is thrown away. In other words instead of making a male plug and casting the mold off of it, the foam is cut and finished directly into the mold.
|
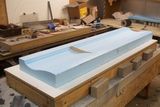 |
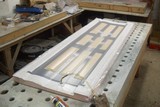
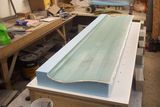
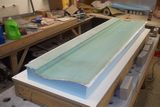
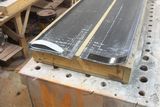
Because of the great length it is hotwired in two blocks that are joined after. The foam sanded by hand as close as to perfection using a template
|
 |
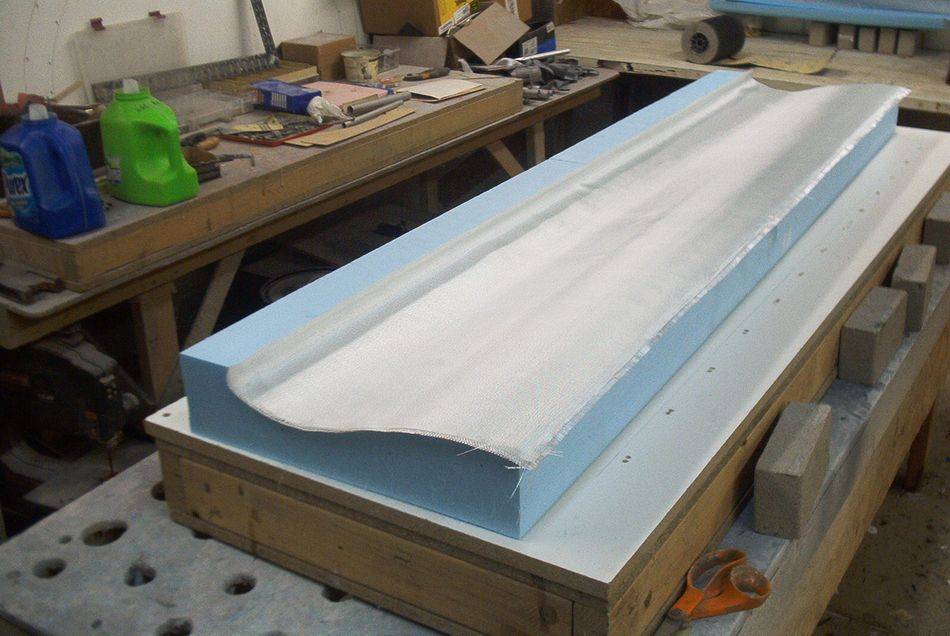
Three plies of cloth are placed in dry two thick ones and one fine finishing weave on top
|
 |
All three are wetted out at once then peel plied.
|
 |
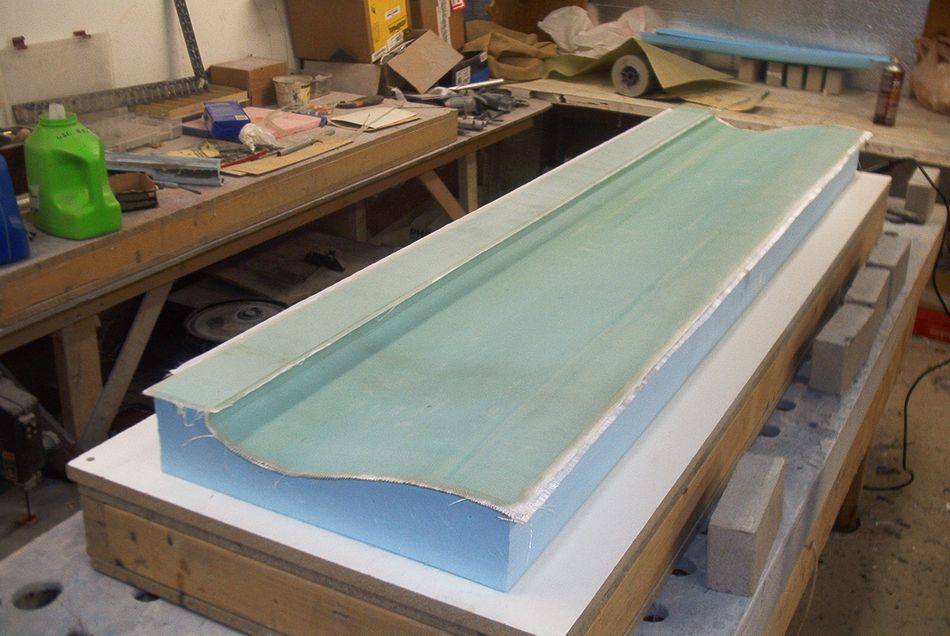
This is the second skin, the top half of the airfoil
|
 |
When its cured to the green stage the excess overhang is trimmed even with the foam top surface and the remaining strip glassing is finished. It is done like this in two stages to deal with the sharp corner that is formed at the leading edge.
|
 |
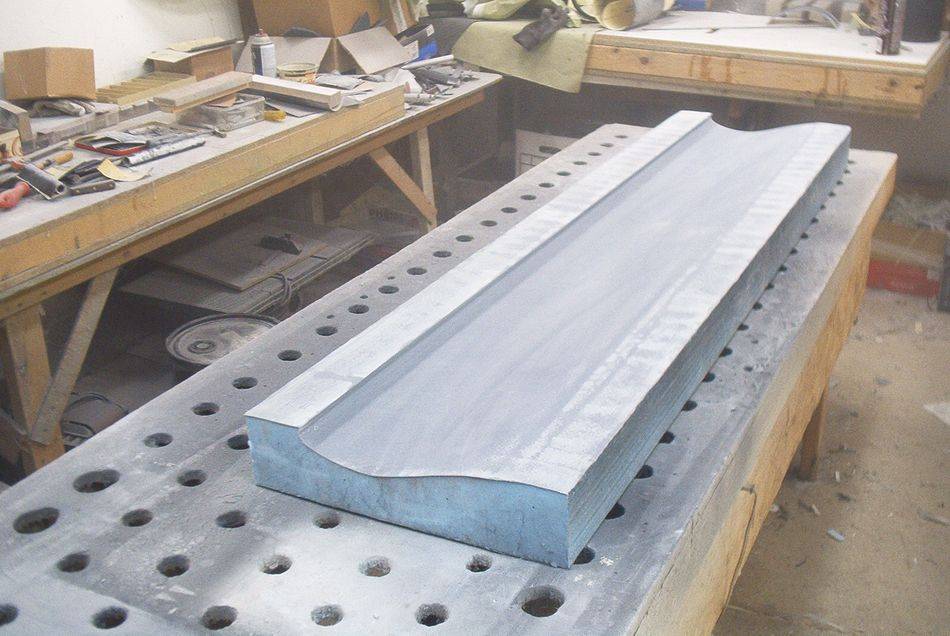
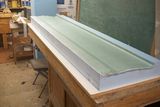
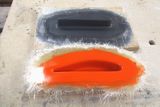
Next is a coat of Duratek surfacing sanding primer, block sanded down to a 100 grade dry.
|
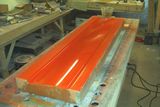 |
The final coat is the orange tooling gelcoat wet sanded progressively from 240 down to 2000 and buffed out with rubbing compound to a high gloss.
|
 |
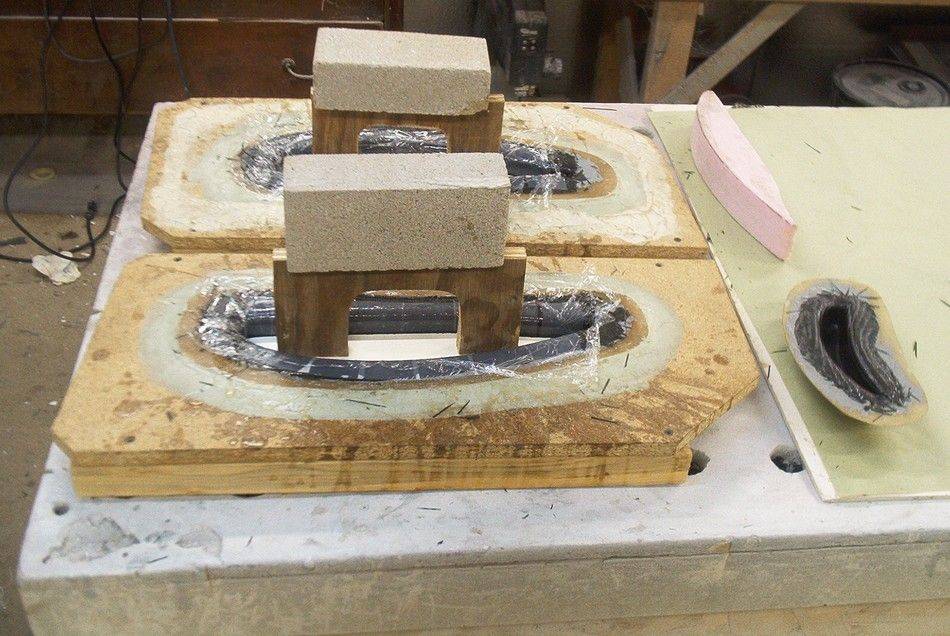
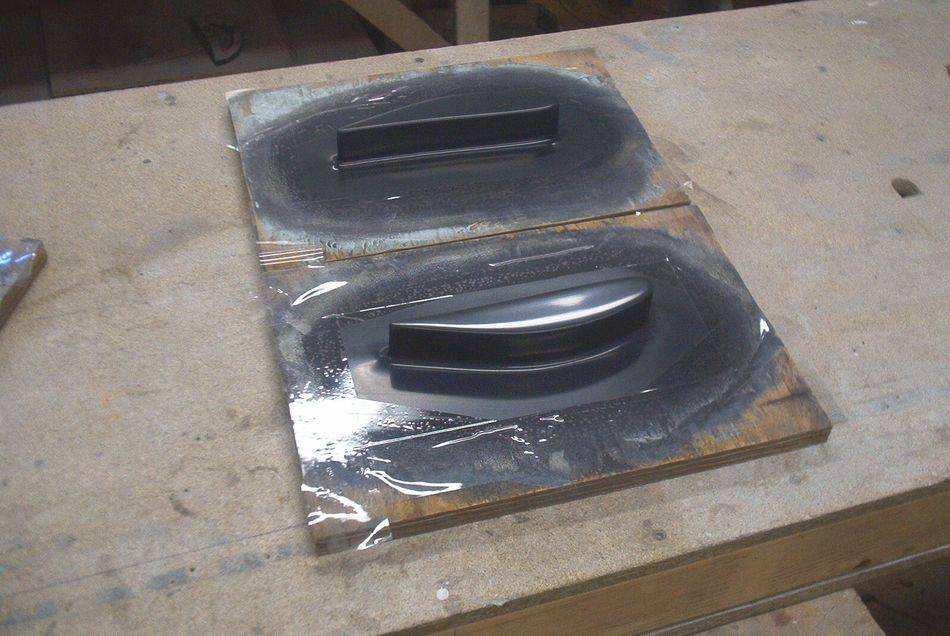
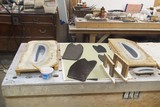
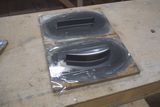
First set of skins is made and then they are used to make accurate ribs. An undersized rib is made, coated by filler and squished between the skins to produce the accurate shape.
|
 |
The black strips are two plies of duck tape to give some clearance for the glue
|
 |
These ribs are finished and worked into the plugs
|
 |
From the plugs the molds are taken
|
 |
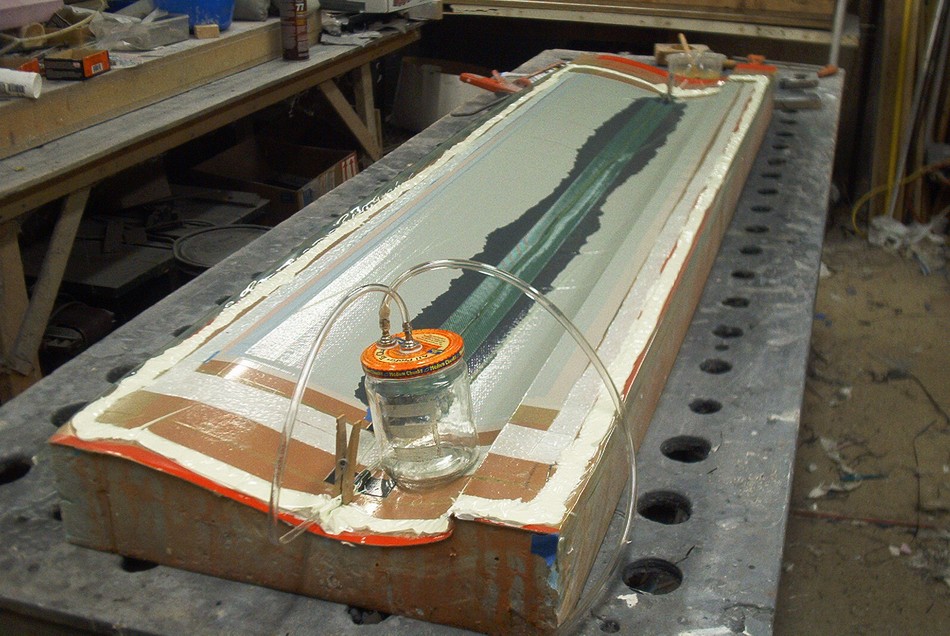
Infusing the skins
|
 |
Assembling with the jigs
|
 |
Finished wing
|