12-14-05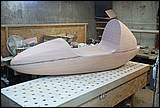 |
The foam plug used for the prototype was reshaped with few small dimensional changes and into more detail, Then fiber glassed again with two plies this time with no release so its bonded to the foam.
The dark line is the indented grove where the top and bottom glass cloth pieces overlap , its easier to fill the grove then having to fill everything and level it out around the bump formed by the overlaps. |
12-25-05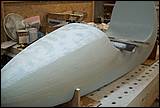 |
The plug is covered with a hefty coat of filler and the sanding has just started, it takes a lot of sanding to get a nice wave free shape. |
02-01-06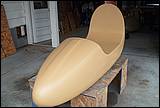 |
All the shaping and detailing is finished. Its now in sanding primer and the next step is to cut it two halves horizontally.
|
02-01-06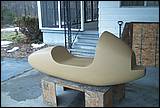 |
One more shot from the side.
|
02-11-06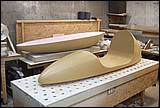 |
Today I cut the plug into two halves. Unfortunately because I didn’t quite think it through at the very beginning of the plug construction I left large number of screws in the foam where the split is, this came back to hunt me and what could have been a relatively simple task turned into a four hour abortion, The cut itself however came out absolutely perfect.
|
03-01-06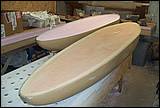 |
This is how the split line is treated. The foam is dished out slightly concave with an extra shallow grove around the perimeter about an inch deep there. The grove is filled with micro and then two ply lay up over the whole thing . This will enable me to fasten the plug halves to a flat sheet with screws touching only around the perimeter edge with tight fit and zero gap.
|
03-29-09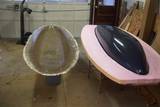 |
I have resumed the work on the molds and finally have some progress worth showing , the bottom plug has the surface finished and ready for the molds lay ups. The first mold was made. This mold is not actually for parts production but rather it will be used as an assembly tool , for this “assembling” purpose the mold lip has to be about two inches lower than the actual part edge. I built up 2 inch foam around the plug to achieve this.
|
07-15-10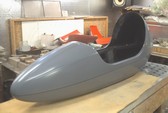 |
First body out of the production molds
|