 |
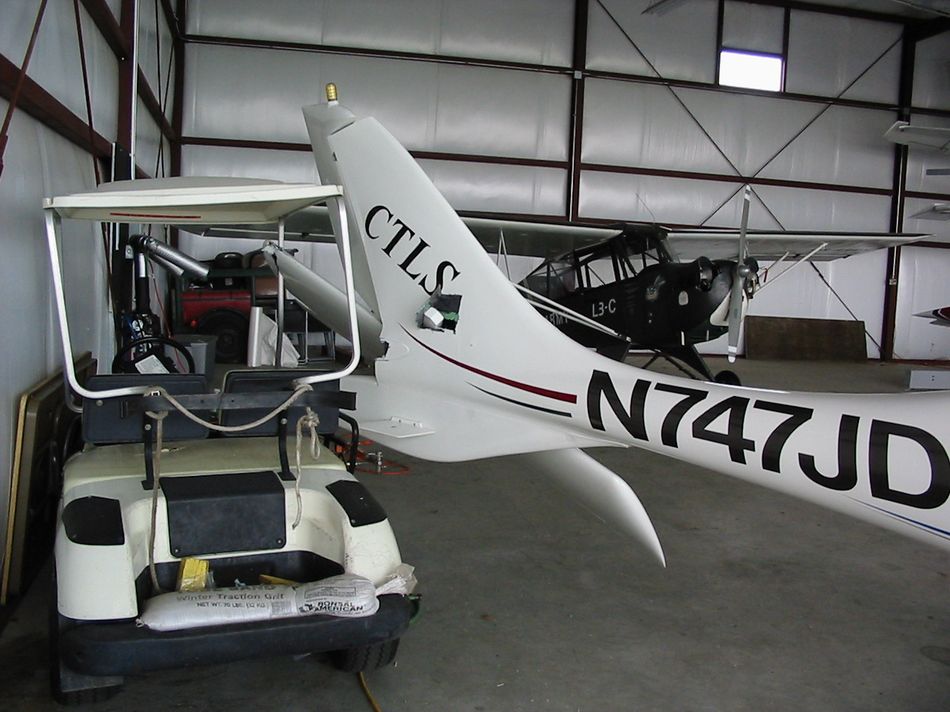
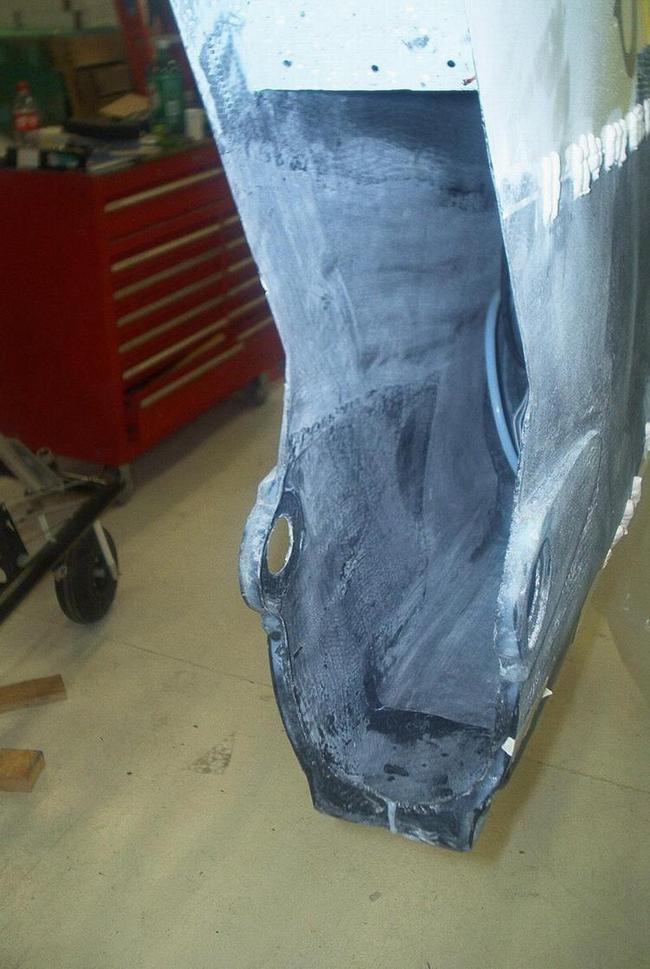
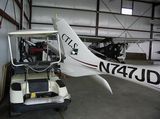
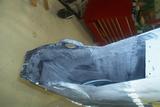
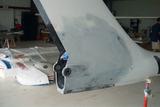
A run away golf cart accident ripped the elevator out of the airplane along with the chunk of the fuselage,
|
 |
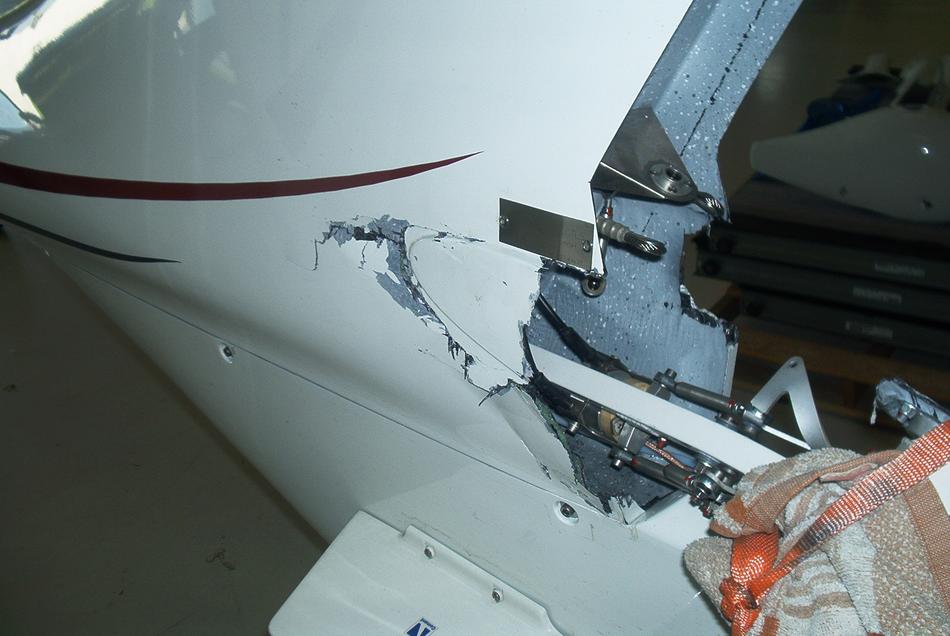
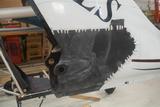
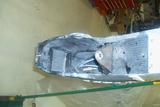
Close up of the damage.
|
 |
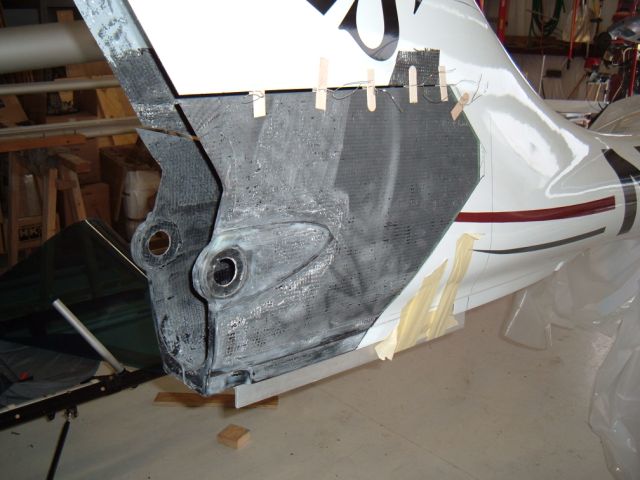
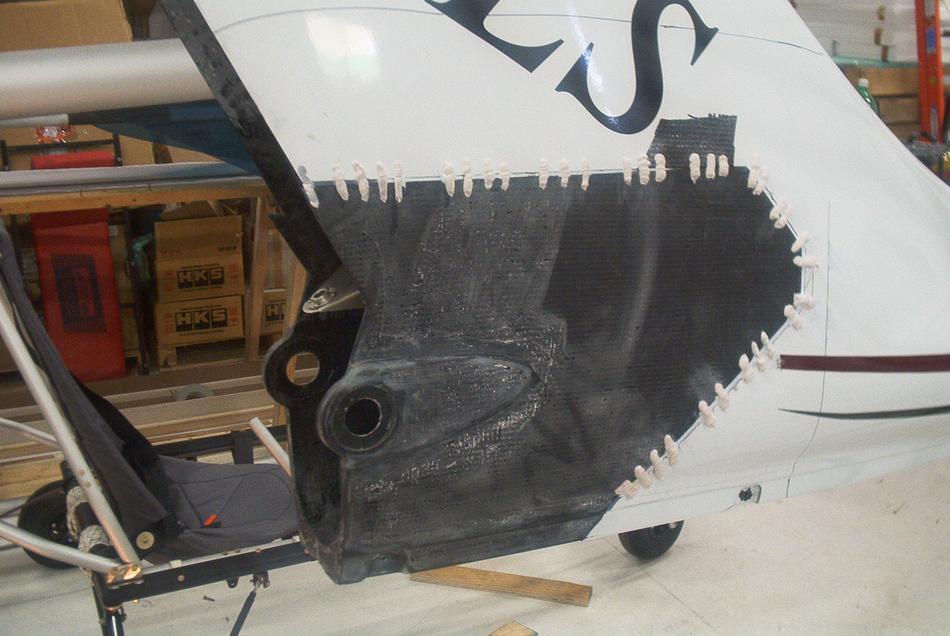
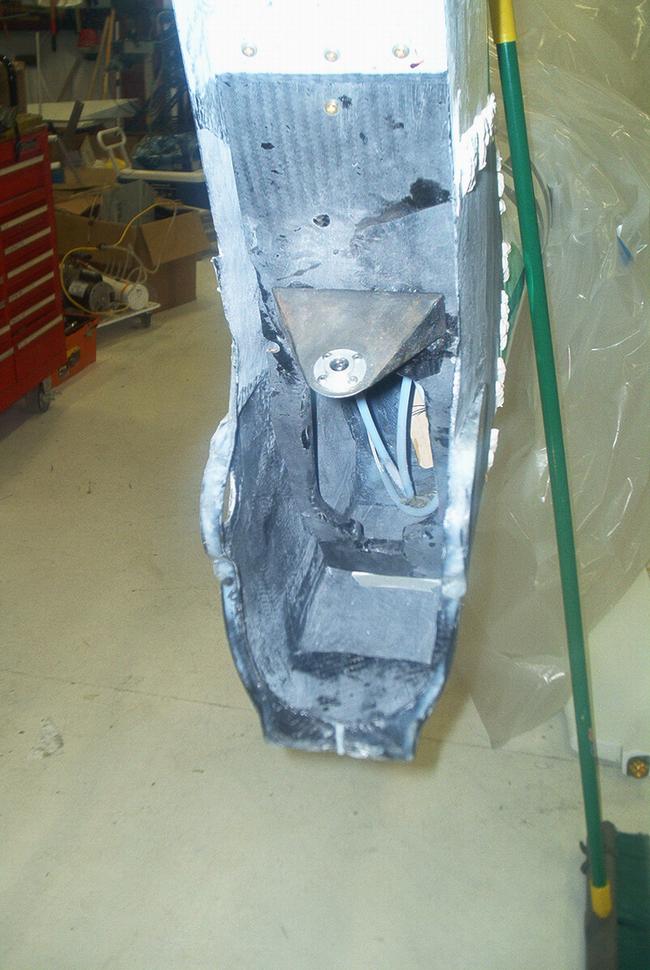
The damager area is cut out and a repair piece made by the factory is being fitted in. Once fitted the repair piece is fixed in exact position with popsicle sticks and twisted wire, normally I prefer small bolts and washers but didn’t have any on hand.
|
 |
Now its temporarily bonded with beads of polyester filler the sticks removed and the gap is filled with micro.
|
 |
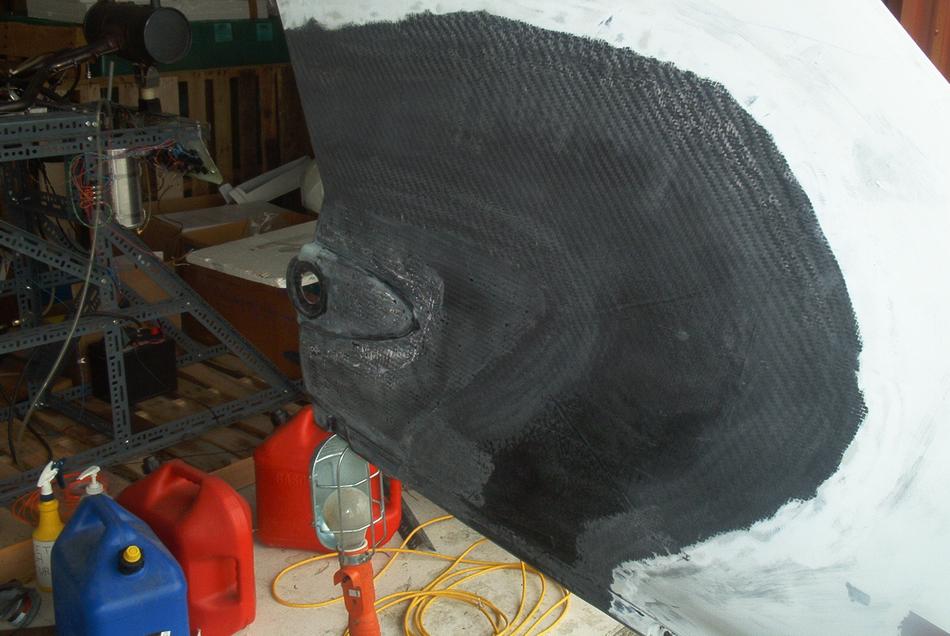
The inside of the seam is taped with the required number of carbon tape and overlaps.
|
 |
A replacement lower part of the ruder spar with the ruder mounting point is fitted and bonded with tapes.
|
 |
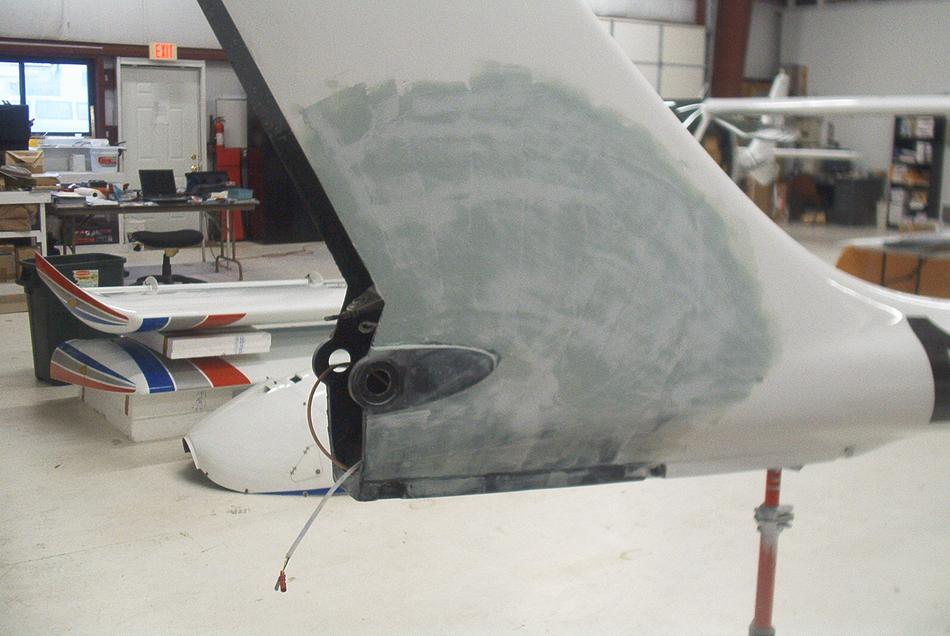
The outside tapes are scarfed to avoid humps in the finish.
|
 |
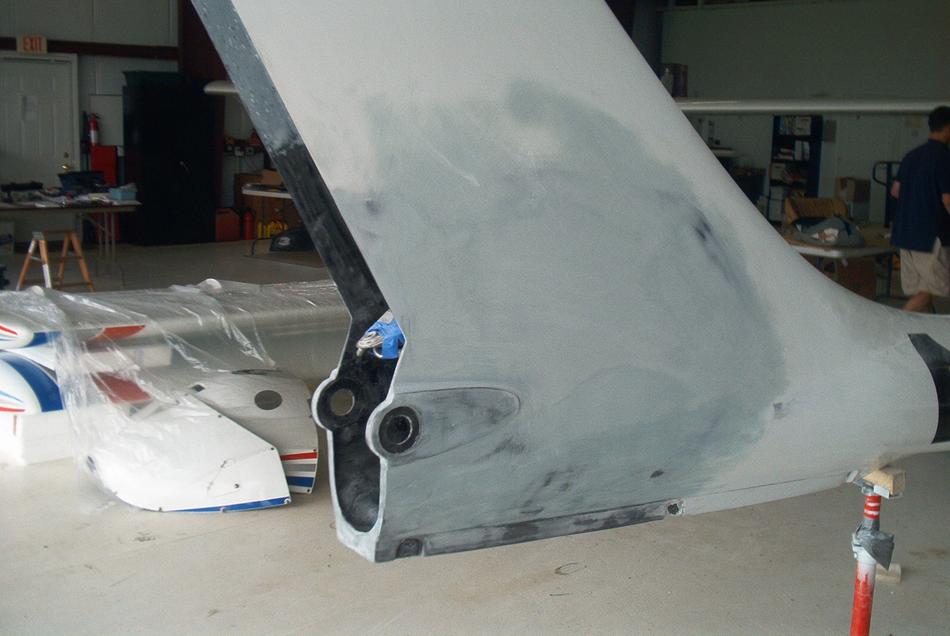
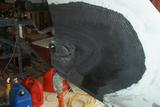
Now the finish faze starts, the filler is applied sanded to contours
|
 |
The pictures don’t capture what this is about, the goal is to recreate the surface and blend it in without waves lumps and dips as it came out of the molds.
|
 |
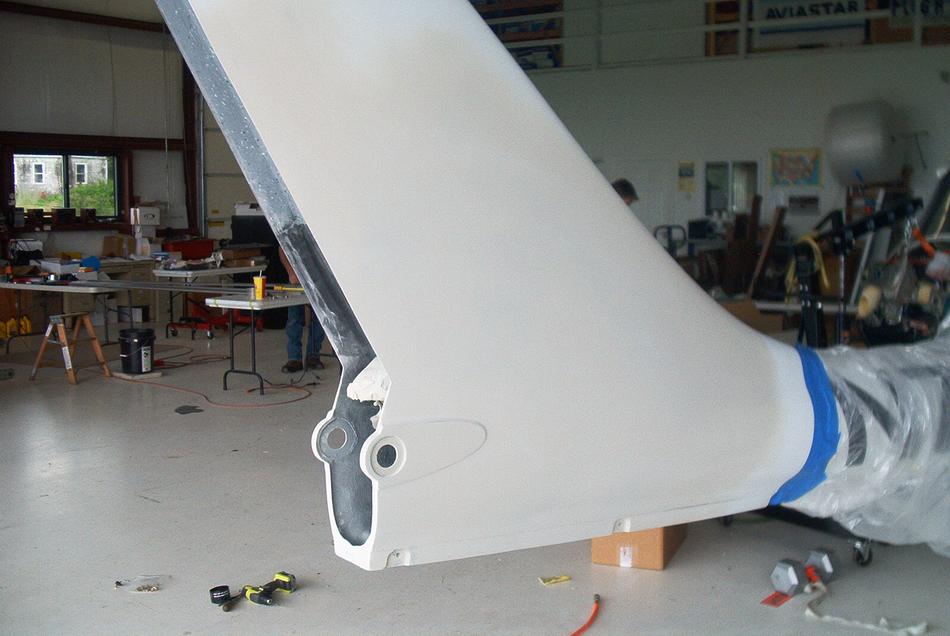
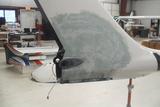
The sanding filling primer fills the sanding scratches and nicks in the filler and reveals the quality of the contouring job.
|
 |
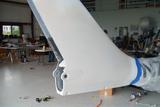
Final paint finishes the job, in order the declare the repair a success nobody should be able to see that anything has been done there.
|